|
The Shape of Doom
In Control Room, told by Lee to alter course to intercept whaler.
Heads over to helm and gives orders to change course.
Lee and Chip check with Riley at sonar for
trace of any survivors.
At periscope, discovers survivor of wreck. Calls for a sea detail to rescue.
  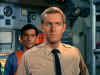 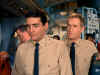 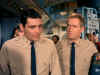
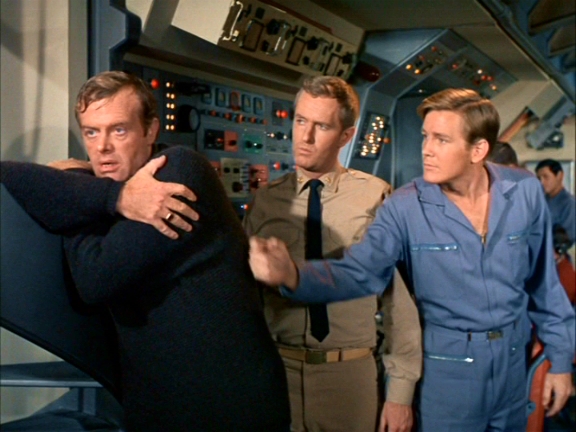
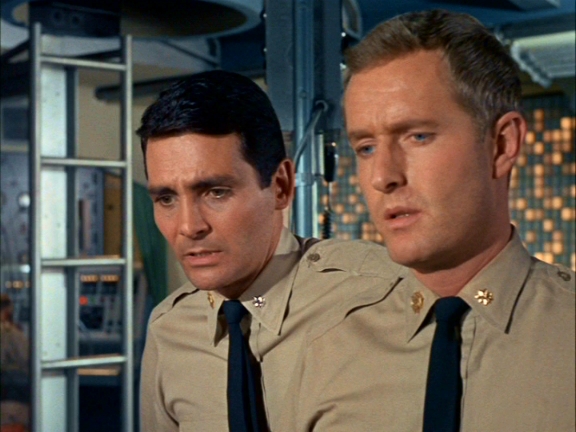
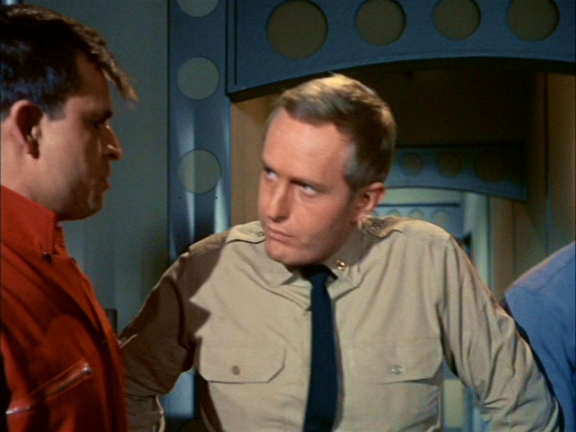
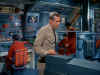
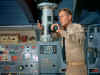
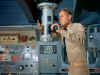
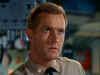
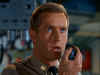
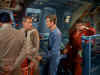
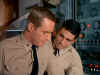
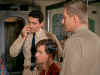
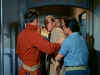
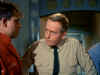
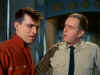
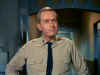
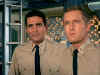
Watches with Lee and crew as Dr. Holden comes down ladder raving about the whale that sunk his ship. Lee and Chip exchange concerned glances, then Lee tells him to get Dr. Holden some dry clothes and escort him to Admiral Nelson.
Chip orders Riley to escort him below to find dry clothes. Takes Riley a couple tries to get Holden to go with him while Chip watches. As Holden finally follows Riley, Chip watches him leave, crossing his arms in classic formidable XO persona as Holden keeps looking back over his shoulder at him. <g>
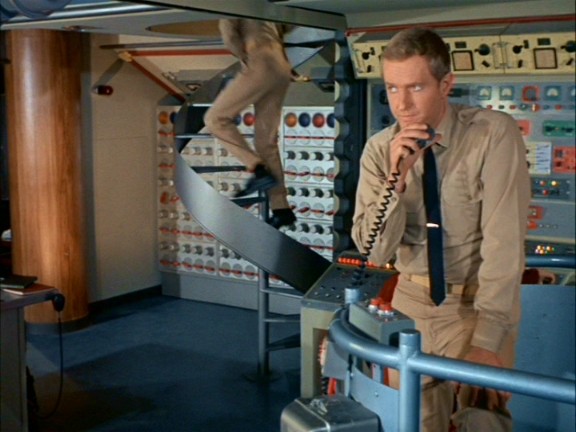
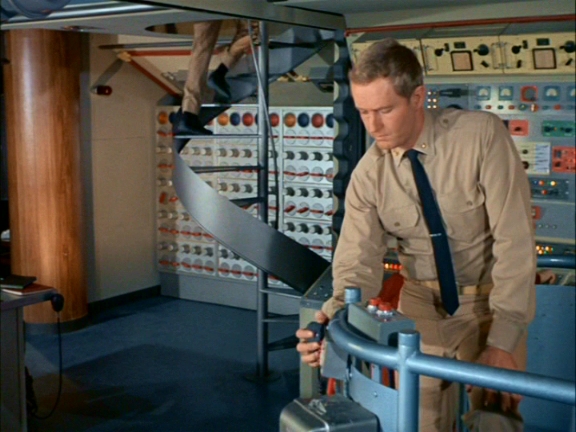
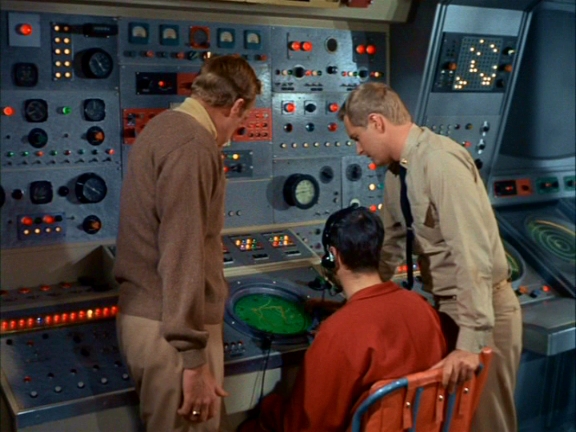
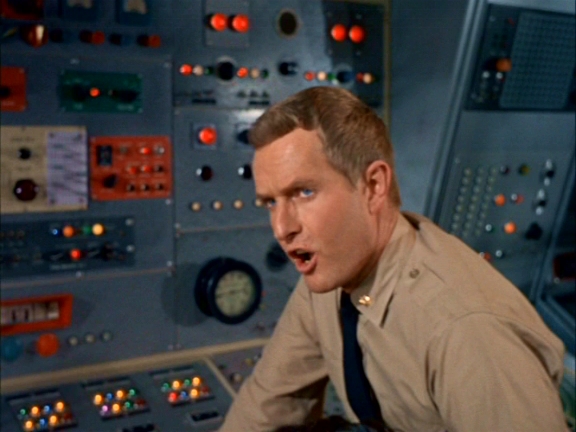
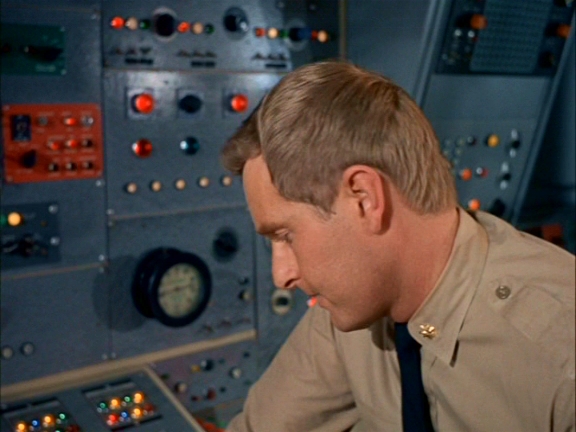
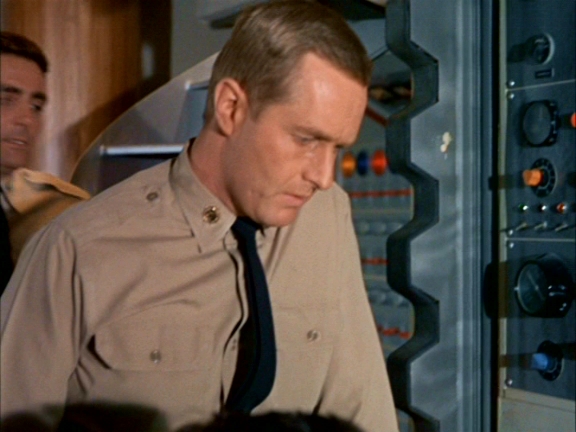
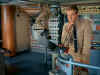
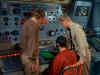
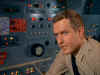
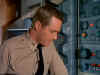
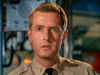
Chip at computer analyzing fathometer readings. Tells Lee they're right over the ditch. Is told to keep trim here while Crane heads down to Missile Room to prepare nuclear charge.
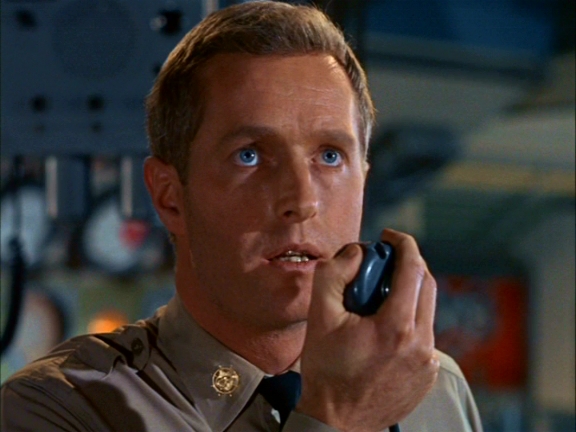
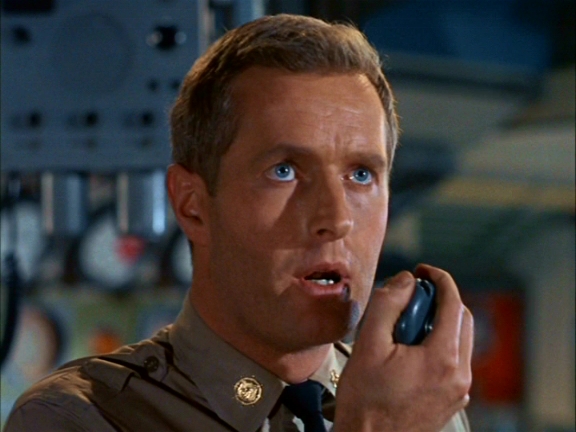
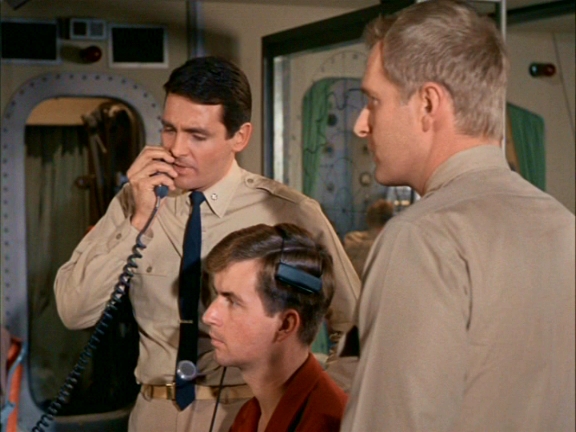
As charge is lowered, Chip calls down to tell about blip seen on sonar. Is
STOCK FOOTAGE from Jonah and the Whale. More stock footage being used as Chip calls over intercom that the whale is heading straight for Seaview.
Back to new live footage as Chip tells his skipper that the
whale swallowed the device like a chunk of bait.
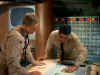 
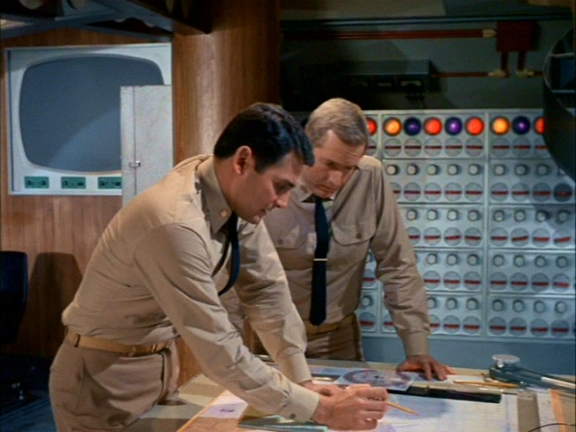
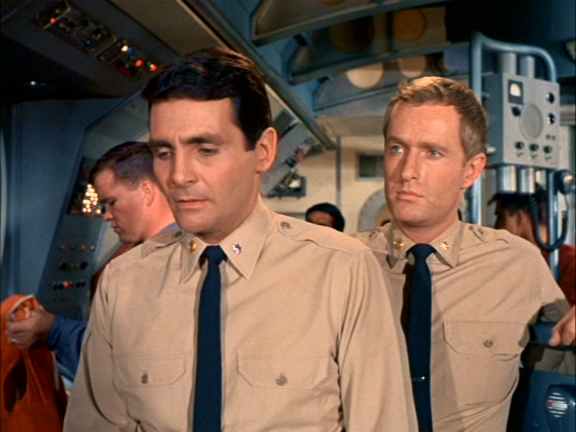
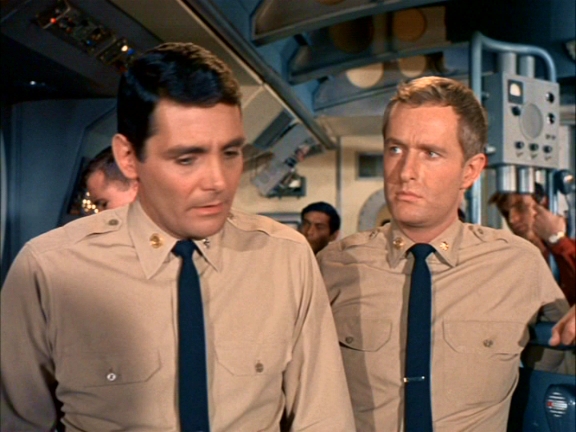
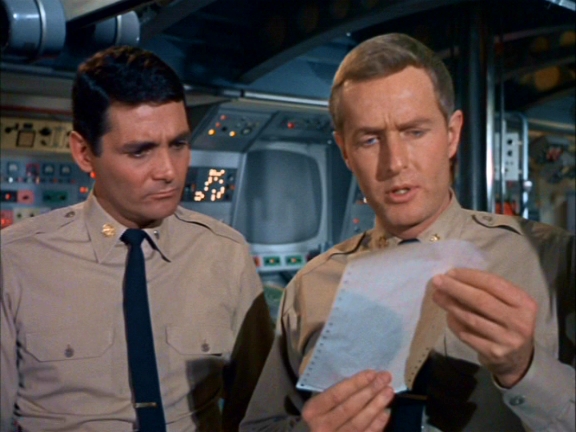
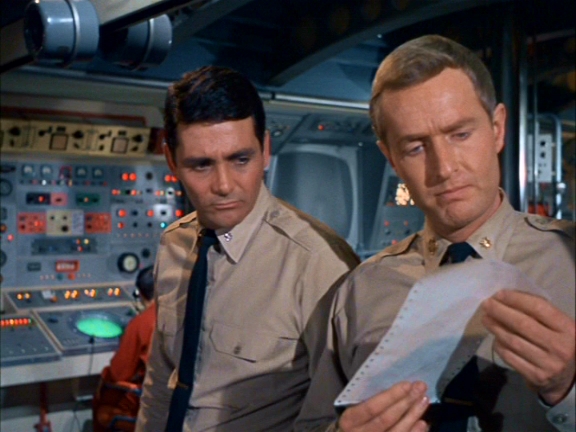
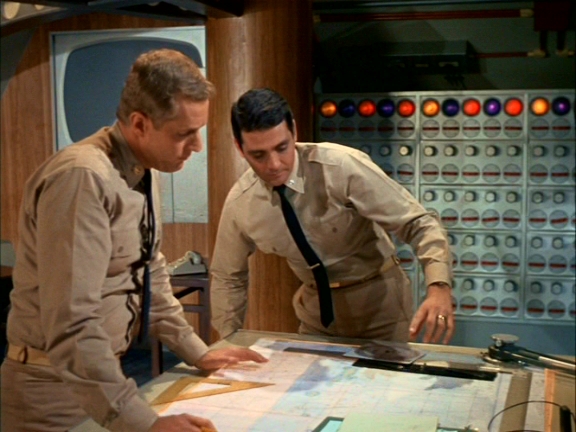
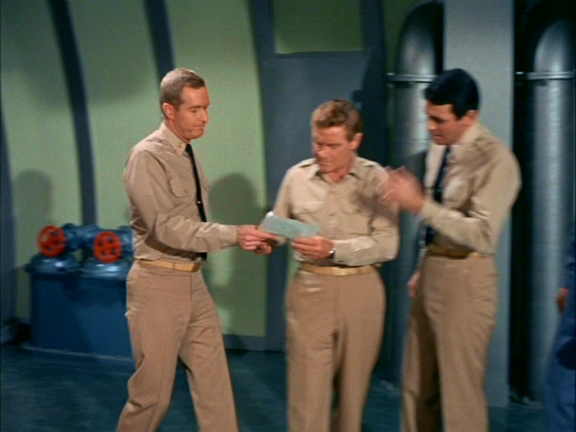
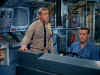
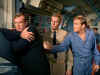
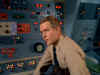
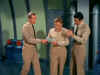
Crane returns to CR on the double, asks Chip where the
President's carrier is. Chip shows him on the chart.
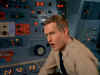
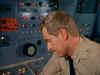
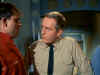
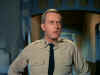
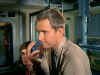
After cable breaks, Lee asks where the whale is, Chip says he's out of visual range, but they have him on sonar. Says he's heading away from them then says quietly "you realize that whale's a swimming bomb?" Lee nods unhappily and agrees. Crane tells Morton to keep the whale in sight until they decide what to do with it. Chip orders the boat to
flank.
As they prepare to shoot the whale with anodyne, cut to more STOCK
FOOTAGE from Jonah and the Whale of Lee and Chip at windows, where Lee tells Chip to fire within 50 ft. :P
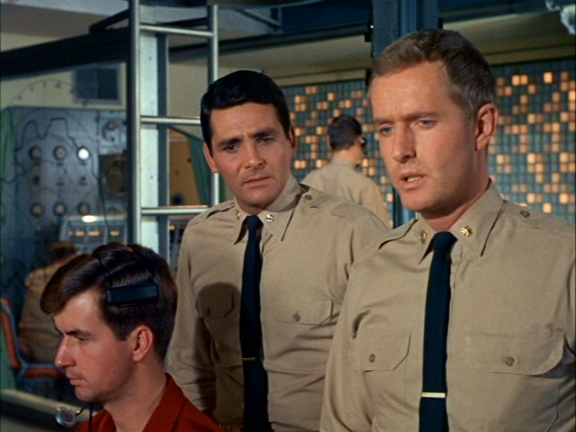
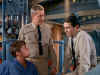
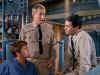
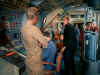
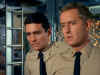
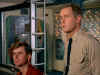
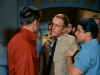
Riley and Ski come zipping into CR. The excited and bouncing Riley
asks Mr. Morton if they got him. Morton replies, right on target.

When whale runs right into them, IA cuts in a whooole lot of stock footage from Jonah and possibly Submarine Sunk Here.
   
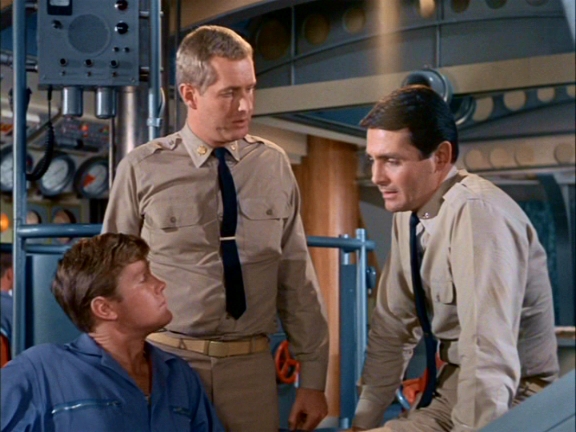
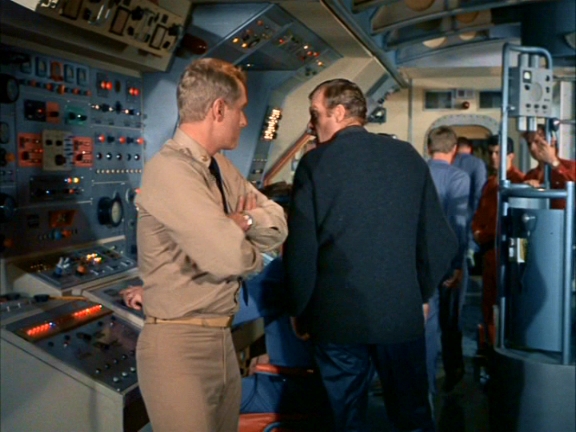
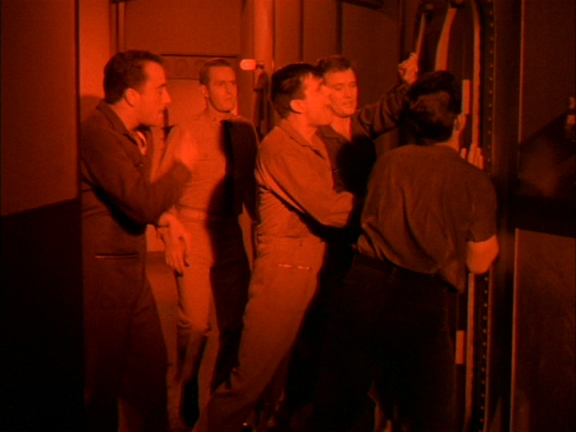
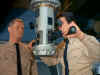
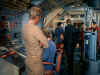
New footage, under red emergency lighting, Chip comes down passageway to where Ski and others are dogging down a hatch. Morton asks if everyone is out of there. Ski says yes. Chip asks how many compartments are flooded and is told that one and the next one aft. Chip checks the door and the structure of the passageway. Ski asks, sir, can we get back to the surface? Chip continues checking the structural integrity, says 'we're holding our trim and the hatch seems to be holding up well enough.' Tells Ski to get work party to shore it up just in case and make a report to the Captain as he (Morton) is heading back to Control. Ski acknowledges and Chip moves away. He pauses and turns to Ski saying, 'to answer your question, we'll be okay.' Ski is very happy and tells the guys that they heard Mr.
Morton...let's get it shored up.
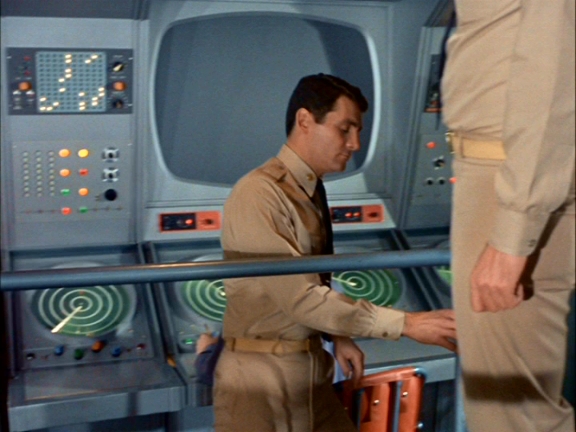
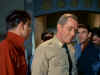
Back in Control Room, Chip is at sonar station. "Whale off port bow, heading this way. He's gonna ram us again." Crane sends Riley and Ski to load more
anodyne into torpedo. Chip is monitoring sonar. Lee comes over and asks him what he thinks. Chip says the whale is circling and if he rams them another time...Lee interrupts with an "I know." then asks what's the range now? Chip gives range and bearing. Lee tells him to turn the nose around, he wants another crack at him. Chip
acknowledges and gives orders to helmsman.
They shoot whale but want him to 'sleep' on a ledge instead of heading into the trench where the bomb will go off. Crane tells Chip to maneuver boat to follow.
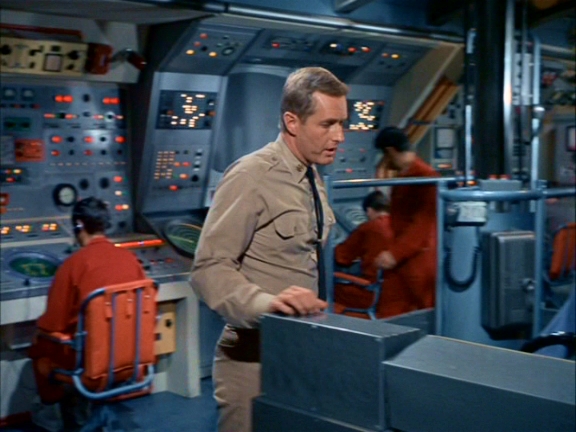
When Holden escapes from MAA and knocks out Riley and Ski in Missile Room, Crane and Nelson hightail it out of CR, leaving Chip with the conn. Think he actually had the conn all along since he's the one that gave the direct maneuvering orders earlier.
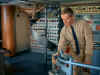
Chip comes down to Missile Room to give Nelson navigational reports. Says he double checked the figures and heads back out.
Little does he know..... hehehe
  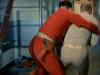 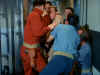 
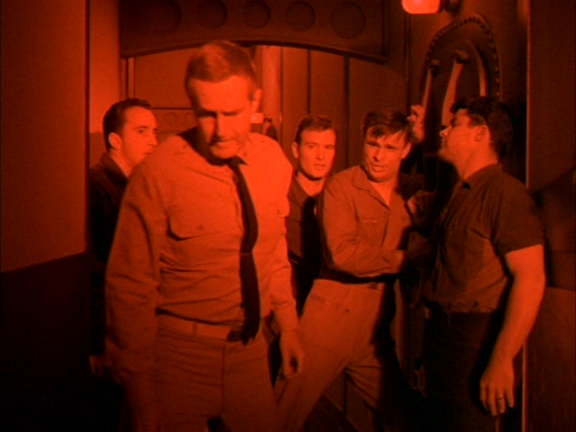
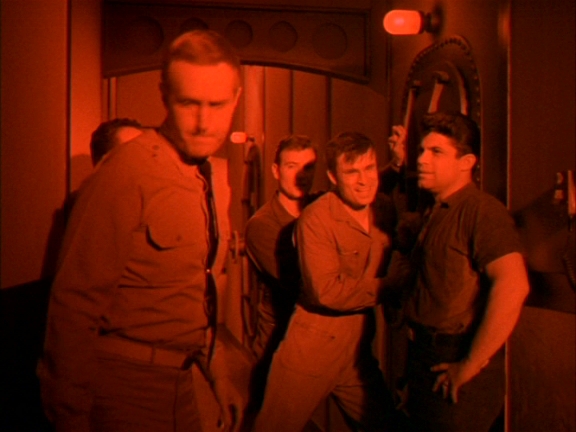
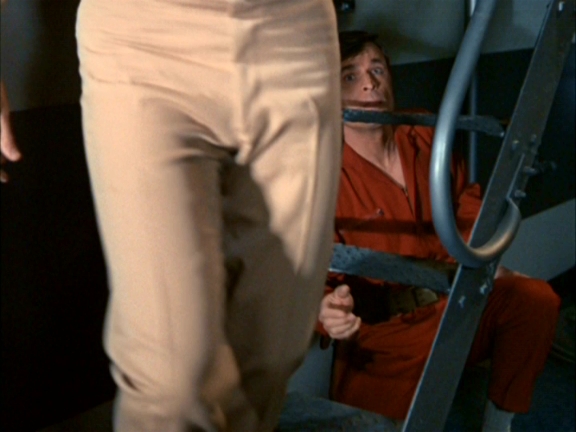
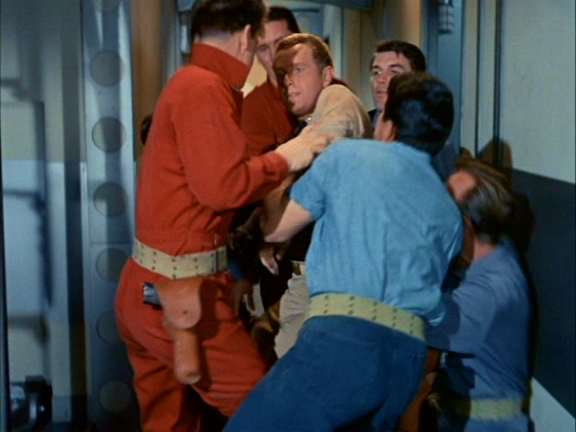
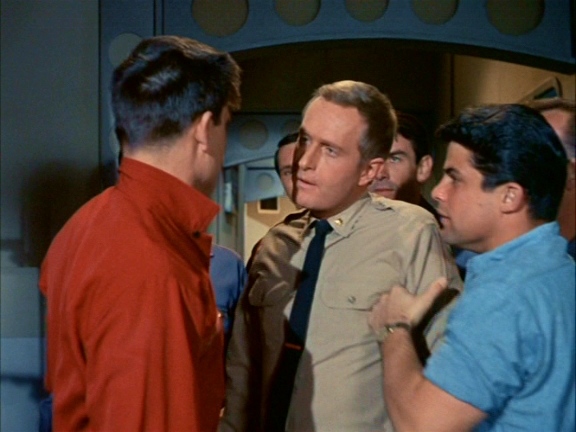
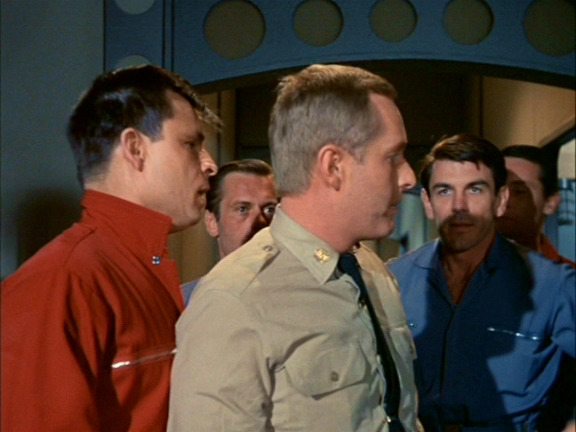
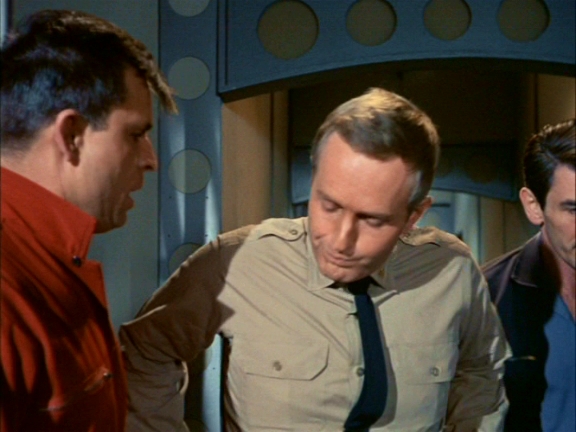
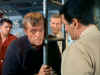
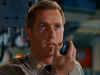
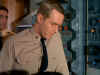
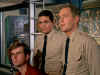
While hunting for the missing Dr. Holden, Ski sees khaki legs coming down the ladder and jumps him, along with the rest of the group. They are horrified to realize they've tackled Morton.
The exec says not a word, but his Glare-of-Death
says it all. <g>
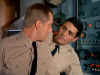
After Ski apologizes profusely and hurries away, Chip
stares
after him with this priceless "oh, brother" look on his face. LOL
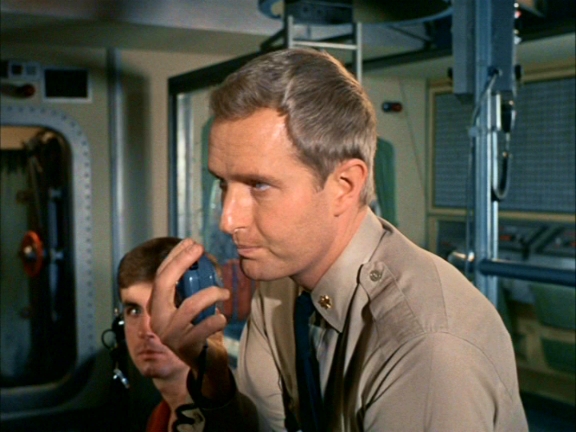
Back in Control Room, back at sonar and looking at screen as they watch the sleeping whale. Holden threatens the crew as he now has the detonator and leaves in minisub. Seaview continues to slowly surface. Crane says for Chip to have whip antenna ready as soon as they surface, Chip replies that he already has a detail standing by. They get through to the President's carrier and warn them off. Nelson returns from Radio Shack and asks Chip for range. They're now a little over three miles away from the whale.

The whale explodes, Holden is killed, Seaview is safe and all head home. As the shot ends, Chip is at periscope, Nelson is at plot table where Crane joins him. Nice background stuff.
|